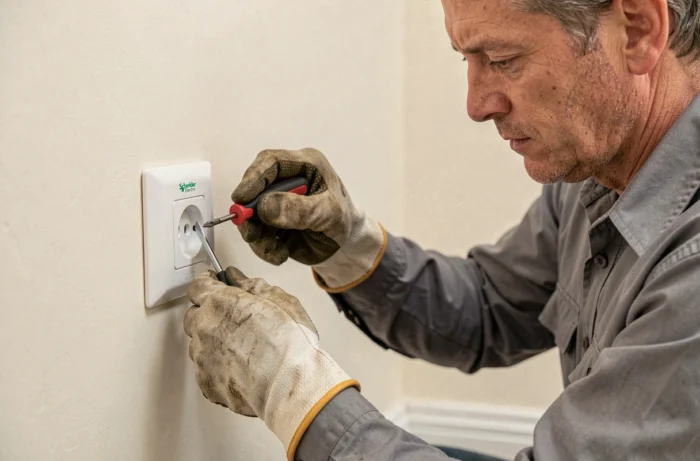
On a Schneider socket with automatic terminals, the wire holds without screws. You insert the conductor, a spring locks it in place, and everything seems permanent. The problem arises when you need to remove this wire to replace a mechanism, modify a circuit, or simply redecorate.
Without knowing the exact gesture, you pull, you force, you damage the copper. This guide details the actual manipulation on common Schneider ranges (Ovalis, Odace, Alvaïs) and the checks not to be overlooked before touching any conductor.
Schneider automatic terminals: why the wire doesn’t come out when pulling
Recent Schneider sockets use spring terminals, sometimes called auto terminals. The conductor enters an opening, a steel blade closes around the copper, and prevents any removal by simple pulling. This system replaces the screw terminals that were loosened with a flat screwdriver.
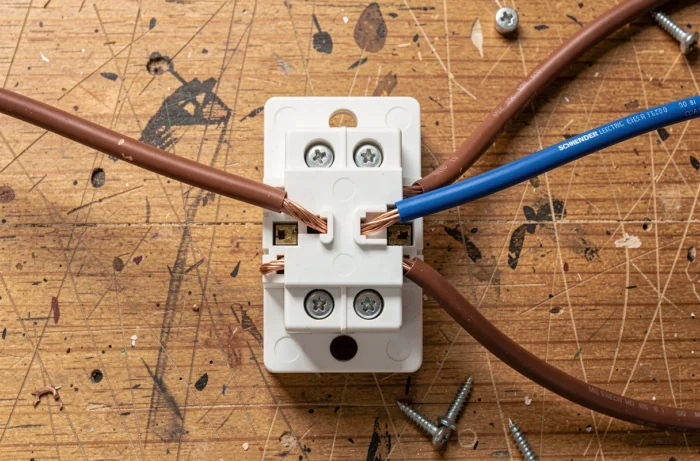
The unlocking mechanism relies on a small push button located at the back or on the side of the mechanism, opposite each terminal. In the Ovalis range as well as in Odace, there is generally a rectangular button for each conductor. In the older Alvaïs range, the returns vary on this point: some users describe a smaller and less accessible push button, others a system identical to the recent ranges.
The reflex to pull on the wire without pressing this push button is the main cause of damaged conductors. The spring only releases if you press the corresponding push button while gently pulling on the wire. No excessive force is needed.
To delve deeper into the specific manipulation for the different Schneider ranges, you can consult the site cc-guingamp.fr which details the variations according to the series of devices.
Electrical lockout before removing wires from a socket
Cutting the main circuit breaker is not always enough. The reliable procedure, linked to the NF C 18-510 standard, follows a precise sequence that goes beyond the simple gesture at the panel.
- Identify the exact circuit that powers the concerned socket, by locating the corresponding branch circuit breaker on the electrical panel
- Turn off this circuit breaker and physically prevent it from being turned back on (padlock, label, visible tape) during the intervention
- Check for the absence of voltage directly on the terminals of the socket with a voltage absence tester (VAT), not with a simple ordinary multimeter that can give a false indication
- Check the proper functioning of the VAT before and after the measurement to ensure it is not faulty
The last step is often overlooked. A VAT with a weak battery can display zero volts while voltage is indeed present. This two-step verification (before and after) is the real safety net for any electrical intervention.
Removing a wire from Schneider Ovalis and Odace sockets: the precise gesture
Once the lockout is done, remove the finishing plate (it can be unclipped by hand or with a flat screwdriver slipped into the notch). Then unscrew or unclip the mechanism from its mounting box to access the back.
Locate the unlocking push buttons
Turn the mechanism over. Each wire entry has its own unlocking push button, usually marked by a small raised rectangle. On power sockets, there are three terminals: phase, neutral, ground.
Press the push button with a flat screwdriver with a fine blade (like a small electrician’s screwdriver). Maintain pressure and simultaneously pull the wire towards you with the other hand. The conductor comes out without resistance. If it still gets stuck, check that you are pressing the push button opposite the concerned wire and not the one for the neighboring terminal.
Specific case of the Alvaïs range
On this older range, the push button may be less visible. Some DIYers report that you need to “agitate” the wire, meaning to slightly twist it while pulling, all while pressing the unlocking button. The mechanics remain the same, but the older spring sometimes offers greater resistance.
Diagnosis of the conductor after removal: what we almost always forget
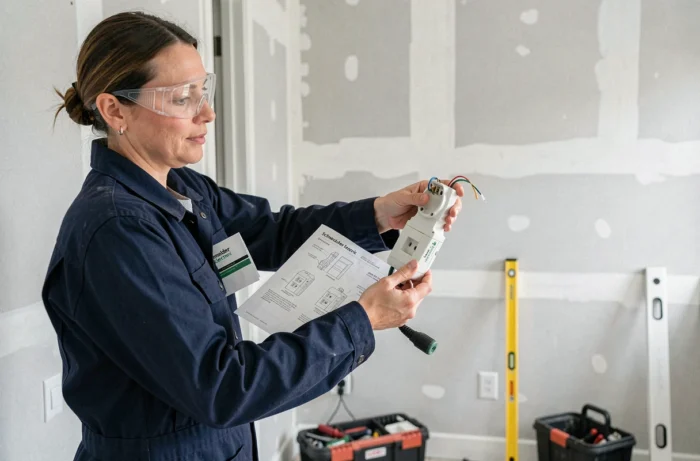
Removing the wire is only half the job. Before reconnecting it in a new mechanism or leaving it on hold, you must inspect the condition of the conductor. This is a step that most tutorials overlook.
A brittle insulation, a notched copper, or cut strands are reasons not to reconnect the wire as is. A wire that is too short after removal (because the damaged part was cut off) can prevent a reliable connection in the new terminal.
After reconnecting in the new mechanism, apply a slight pull on each conductor to confirm its hold in the automatic terminal. If the wire comes out, the connection is faulty and the risk of overheating is real.
Checking the ground on old installations
The yellow-green color of a wire does not guarantee that the ground connection actually works. On modified or old installations, the continuity of the ground must be verified by an electrical test, not just by visual inspection. A socket that shows a ground wire without actual continuity offers no protection against an insulation fault.
Appropriate tools for removing wires from a Schneider electrical socket
You don’t need an arsenal, but a few specific tools make all the difference.
- A flat screwdriver with a fine blade (width less than that of the push button) to press the unlocking without slipping on the neighboring terminal
- A voltage absence tester (VAT) rather than a standard multimeter, in accordance with safety recommendations
- A calibrated wire stripper if the conductor needs to be cut and re-stripped before reconnection
A screwdriver that is too wide risks pressing on two push buttons simultaneously and releasing a wire that you did not want to remove. On compact mechanisms like those in the Odace range, the space between the terminals is reduced.
The action of removing a wire from a Schneider socket with automatic terminals boils down to a simple action: press, pull. The real difficulty is not mechanical; it lies in everything that precedes (rigorous lockout) and everything that follows (inspection of the conductor). A poorly inspected wire or an unverified ground turns a routine operation into a lasting weak point in the installation.